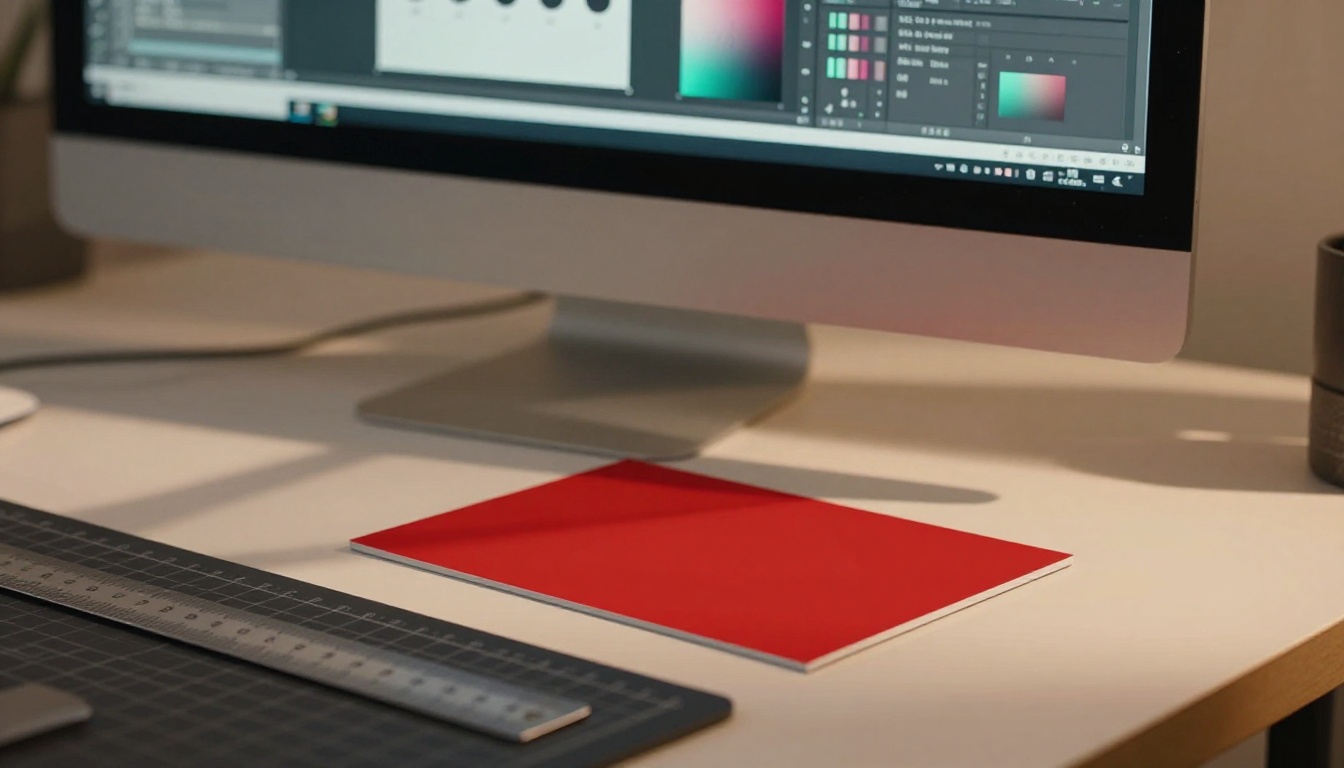
A few years back, a freelance designer named Alex poured hours into a logo for a local coffee shop. He sent the file to the printer, excited for the reveal. But when the business cards arrived, white edges ruined the bold red background, and the shop owner’s name got sliced off one corner. Alex lost the client and learned a hard lesson. That mistake stemmed from skipping artboard bleed and safety margins.
An artboard acts as your main canvas in software like Adobe Illustrator. It holds your design at the exact final size. Bleed adds extra space around the edges. Printers trim this off later. Safety margins create inner buffers. They keep key elements from getting cut during trimming.
Pros always use these setups. They prevent disasters like Alex’s. You avoid reprints that cost time and money. This post walks you through the why and how. You’ll learn standard sizes, step-by-step setup in Illustrator, and checks for print-ready files. By the end, you’ll create artboards confidently. Your prints will look sharp every time.
Grasp Why Bleed and Safety Margins Make Your Prints Perfect
Print jobs fail without proper bleed and margins. Machines cut paper with tiny shifts. A millimeter off means trouble. Bleed covers those edges. Think of it like extra crust on a pizza. You trim it away, but the center stays perfect.
Safety margins work inside the artboard. They act as no-go zones near the edges. Place text or logos well inside them. This setup ensures nothing important gets chopped. Ever notice pro posters with crisp details? They use these tricks.
Common fails include white borders on colored backgrounds. Or headlines that vanish after trimming. Business cards, flyers, and books all need this care. Benefits stack up fast. You save on rush reprints. Clients stay happy. Your reputation grows.
- Bleed prevents edge gaps from cut errors.
- Margins protect vital design parts.
- Both lead to consistent, pro results.
In short, grasp these basics first. Then your designs shine in print.
The Role of Bleed in Professional Printing
Bleed gives printers wiggle room. They cut along marks, not exact edges. Standard bleed measures 0.125 inches, or 1/8 inch, on all sides. Some jobs need 0.25 inches.
Full bleed means your background or images extend into that space. Printers trim it flush. Never put text in bleed areas. It might get cut.
For example, design a flyer at 8.5 by 11 inches. Add 0.125-inch bleed all around. Your total artboard grows to 8.75 by 11.25 inches. Drag the photo to fill it. Trim marks show where to cut.
This method handles shifts. Your colors reach the edge perfectly.
Why Safety Margins Keep Your Design Elements Safe
Safety margins sit inside the trim line. Use 0.25 inches from each edge as a rule. Keep logos, text, and photos within this zone.
The full artboard includes bleed outside. But critical items stay central. Guides help you see these boundaries clearly.
Picture a business card. Trim size hits 3.5 by 2 inches. Safety margins shrink the safe area to 3 by 1.5 inches. Test by dropping in sample text. If it fits snug, you’re good.
Margins also aid folds in brochures. They prevent creases from hitting key spots. Always visualize with rulers on.
Pick the Right Bleed and Margin Sizes for Any Project
Standard sizes make setup simple. Most printers expect 0.125-inch bleed. Pair it with 0.25-inch safety margins. But projects vary.
Paper type matters. Thick stock might need more bleed. Always ask your printer for specs. This avoids surprises.
Here’s a quick reference table for common jobs.
| Project Type | Bleed (inches) | Safety Margin (inches) | Notes (Metric Equivalents) |
|---|---|---|---|
| Business Cards | 0.125 | 0.25 | 3mm bleed, 6mm margin |
| Flyers (Letter) | 0.125 | 0.25 | Standard for US prints |
| Posters | 0.125-0.25 | 0.25-0.5 | Larger needs more margin |
| Brochures | 0.125 | 0.25 | Add for folds |
| Book Covers | 0.125 | 0.375 | Spine affects margins |
This table cuts guesswork. Pick sizes based on your needs. Results stay consistent across runs.
Bleed and Margin Specs by Project Type
Business cards use tight specs. Bleed at 0.125 inches keeps edges clean. Margins at 0.25 inches fit contact info safe.
Flyers match letter size. Same bleeds work well. Posters sometimes double bleed for big formats.
Brochures need fold awareness. Keep margins extra on fold lines. Books add spine bleed. Use 3mm and 6mm for metric users.
Check printer guides always. Specs ensure flawless output.
Set Up Your Artboard Step by Step in Adobe Illustrator
Adobe Illustrator shines for artboards. Photoshop and InDesign follow similar paths. Start here for quick wins.
Follow these steps. You’ll finish in minutes. Troubleshoot as you go.
Step 1: Start a New Document with Bleed Enabled
Open Illustrator. Go to File, then New.
In the dialog, check Use Document Bleed Settings. Set bleed to 0.125 inches on all sides. Pick your profile, like Print.
Choose artboard size. Letter works for flyers: 8.5 by 11 inches. This sets trim size. Bleed adds automatically outside.
Click Create. Your canvas appears ready.
Step 2: Create and Size Your Artboard Precisely
Grab the Artboard Tool. Press Shift + O.
Click and drag to draw. Or enter exact sizes in the Properties panel. Match your final trim: width 8.5 inches, height 11 inches.
Name it if needed. Duplicate for multi-page jobs. Resize handles snap to guides.
Preview bleed bounds. Everything aligns perfect.
Step 3: Add Guides for Safety Margins
Show rulers with View > Rulers > Show Rulers.
Click a ruler. Drag a guide to 0.25 inches from the left edge. Repeat for right, top, bottom.
Lock them via View > Guides > Lock Guides. Blue lines mark your safe zone.
Drop test text inside. Logos fit easy now. Color guides if you want: double-click to edit.
Step 4: Extend Designs into the Bleed Area
Select your background shape. Go to Object > Path > Offset Path. Set 0.125 inches outward.
Or scale and drag fills to bleed edges. Use the Direct Selection Tool for tweaks.
Check no text sits in bleed. Select All, scan edges. Your design flows seamless.
Double-Check Your Setup and Export for Print-Ready Files
Verification saves headaches. Use built-in views first.
Switch to View > Show Bleed. Pink areas highlight extras. Toggle crop marks too.
Export as PDF. Choose PDF/X-1a standard. Include bleed and marks. Acrobat previews final trims.
Work in CMYK, not RGB. Test a small print run. Other apps like InDesign export similar.
Common pitfall: forgetting marks. Double-check files before sending.
Quick Ways to Verify Everything Looks Right
Go to View > Outline mode. Edges show clear.
Zoom to 200%. Scan for strays in bleed.
Select All. Shift-click misses nothing. Preview in Overprint mode.
These steps catch errors fast. Send flawless files.
Your artboards now handle any print job. Standard bleeds at 0.125 inches and 0.25-inch margins form the base.
Recap the wins. You grasp why they matter. Pick sizes from the table. Set up in Illustrator with guides. Verify before export.
Next, explore color profiles for richer prints. Or pick printers that match your specs.
Try this on your next design. Share your results in comments. What struggles hit you before? Subscribe for more tips.
Your prints will impress clients today. Go create something great.