Picture a dull product photo on Instagram. Now drape it over cracked leather or soft linen. Suddenly, it grabs attention. Custom textures add depth and realism to your designs. They make backgrounds pop in graphics and turn plain clothing mockups into eye-catchers.
You don’t need fancy skills. Anyone can snap a photo from daily life and tweak it into a reusable asset. This guide walks you through tools, idea hunting, building steps, and real-world uses for backgrounds and clothes. You’ll save money over stock sites. Follow along, and your next project will look pro.
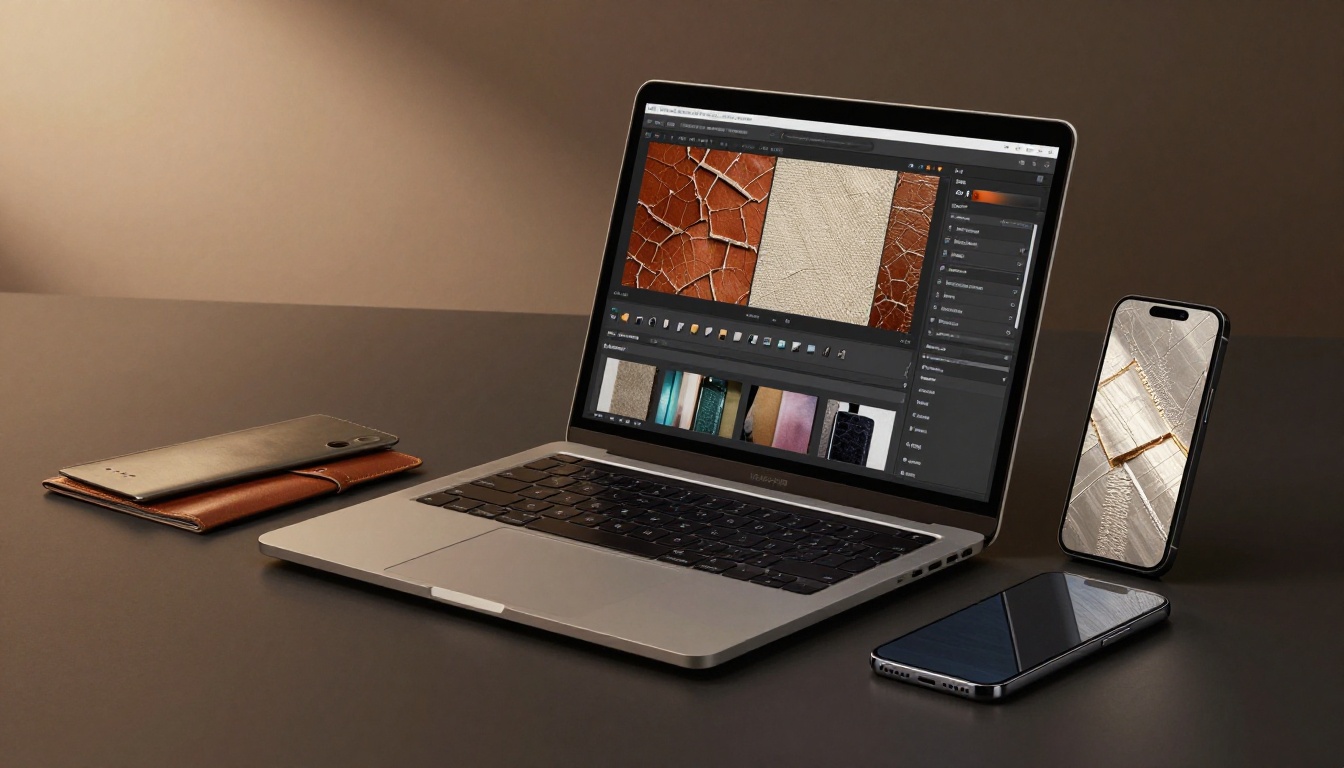
Pick the Right Tools to Get Started
Start with software that matches your setup. Free options work great for beginners. Paid ones offer extras for heavy use. You also need a camera, even your phone. A drawing tablet helps, but it’s optional.
GIMP suits new users because it’s free and powerful. Download it from the official site. Photopea runs in your browser like a Photoshop clone. No install needed. Both handle layers and filters well for textures.
Free Tools That Pack a Punch
GIMP opens fast on any computer. Load a photo, then go to Filters > Noise for grit. The interface shows tools on the side. Communities share tutorials everywhere.
Photopea mimics Photoshop menus. Sign up for free storage. Open an image, apply Gaussian Blur under Filter. Blend edges easily. Both tools let you experiment without cost. Start here to build skills.
Upgrade to Pro Software for More Power
Photoshop shines with smart objects. Edit without losing originals. Layer styles add shine or shadows quick. It handles big files for clothing prints.
Affinity Designer costs once, no subscription. Vector tools mix with pixels perfect. Resize textures without blur. Pros use these for client work because they speed up repeats. Pick based on budget, then dive in.
Hunt for Texture Ideas in Your World
Look around your home or outside. Nature offers endless options. Tree bark gives rough grain. Old bricks add urban grit. Fabrics like denim inspire clothing looks.
Phone albums store mood boards. Pin favorites on apps for quick reference. Mix sources for fresh results. Grunge fits bold backgrounds. Knits work on sweaters.
Capture close-ups in good light. Shadows create depth. Everyday items surprise you.
Snap Photos of Everyday Textures
Pick a subject like rust or leaves. Use natural light, morning best. Shoot straight on or at angles for variety. Save as high-res JPEG.
Permissions matter for walls or signs. Your backyard stays private. Phone apps edit on the spot. Ten shots give choices.
Mix in Digital Patterns and Brushes
Grab free brushes from sites like DeviantArt. Import grunge packs into GIMP. Layer over photos for hybrid effects.
Start with two packs: fabric weaves and paper scans. Scatter lightly. This adds detail without starting from scratch. Test on small canvases first.
Examples of real-world textures ready for your camera.
Build and Polish Your Custom Texture
Import your photo into GIMP or Photoshop. Crop to square shape. Offset it 50 percent to check seams. Blend mismatches.
Adjust levels for punchy contrast. Grayscale first for flexibility. Add noise via filters. Save PNG for clear edges.
Test tiling. Four copies side by side show flaws. Fix them now.
Make It Seamless So It Repeats Perfectly
Duplicate the layer. Filter > Other > Offset, set to half size. Edges meet in the middle.
Use Clone Stamp to copy good areas over seams. Or blur lightly. Tile preview confirms it loops clean. Bad blends show lines; redo until smooth.
Boost Details with Edits and Effects
Dodge corners for light pops. Burn centers for depth. Hue shifts recolor fast.
Overlay weave brushes for cloth feel. Keep changes subtle. Before edits look flat; after, they grip the eye.
Create Variations for Different Uses
Copy the base layer. Warm tones suit sunny backgrounds. Mute ones fit dark clothes.
Scale small for web, big for prints like 2048 pixels. Rotate for patterns. Export sets ready to go.
Apply Your Textures Where They Shine
Drop the texture under your main image. Scale to fill. Blend modes like Multiply add grit without overpowering.
For clothes, warp to curves. Lower opacity blends natural. Prep files match video or mockups.
Social posts, apparel previews, all level up.
Craft Eye-Catching Backgrounds
New layer at bottom. Drag texture in, resize. Overlay mode darkens just right.
Mask soft edges. Marble adds class to logos. Canvas fits sketches. Subjects stand out sharp.
Design Fabrics That Look Real on Clothes
Liquify tool bends texture to sleeves. Multiply for fabric shadow.
Add highlights with soft brushes. Leather wraps jackets tight. Floral drapes dresses smooth.
Troubleshoot and Perfect the Look
Over-saturated? Dial back saturation. Lighting mismatch? Color balance layers fix it.
Distort too much? Undo warp steps. Match tones first. Adjustments stay editable.
Custom textures transform your work. You source ideas easy, build them seamless, and apply anywhere. No pro gear required. Experiment with mixes for originals.
Share your first texture online. See what clicks. Grab your phone today. Snap that wall or leaf, then design something fresh.