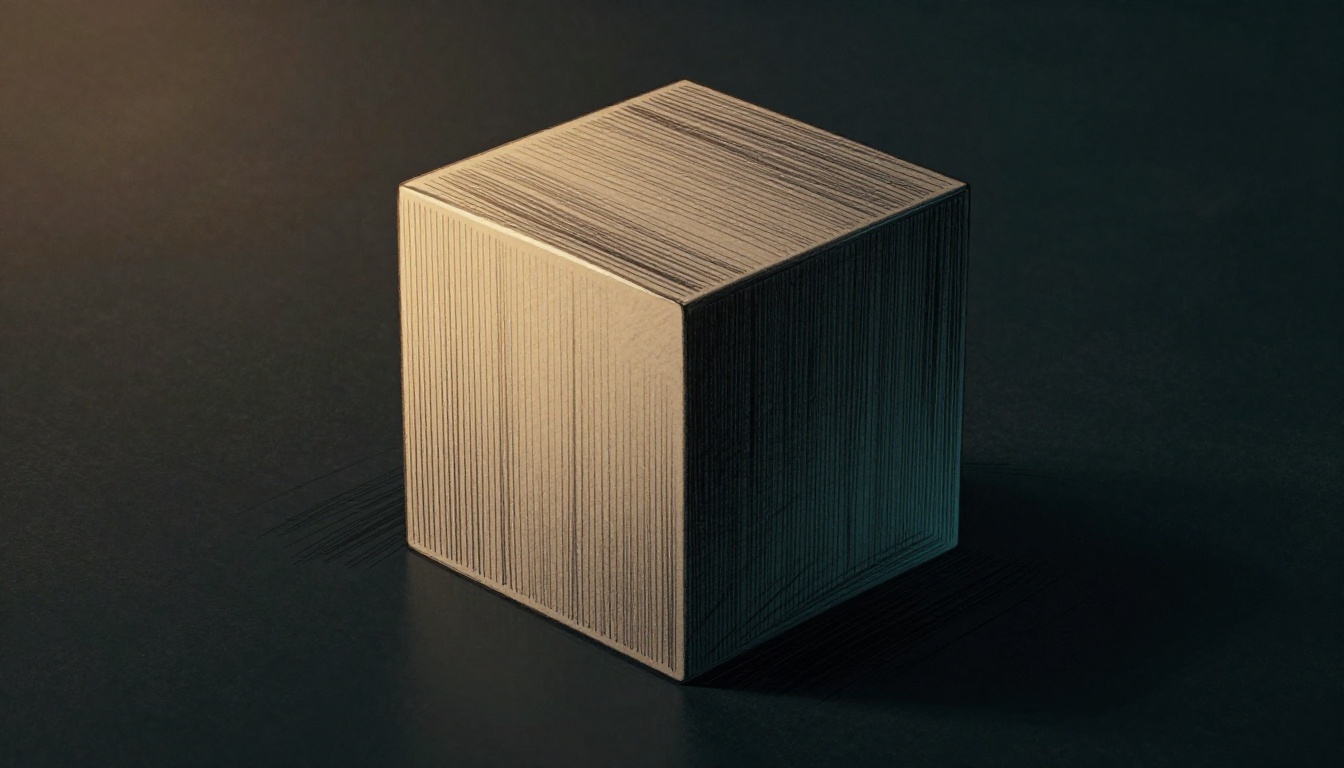
Imagine you sketch a simple cube on paper. You use the same thin line for every edge. It sits there, flat and lifeless, like a sticker on the page.
Now try this. Thicken the lines on the edges closest to you. Let them taper thinner as they recede into the distance. Suddenly, that cube pops off the page. Depth appears, and your eye locks right onto the front face. That’s the magic of line weight in action.
Line weight means varying line thickness to create depth and guide focus. Artists have used it for ages in illustration, comics, and technical drawings. Think of comic book panels where bold outlines grab attention on heroes, while faint lines fade into backgrounds. Or blueprints, where heavy lines show main structures and light ones detail the small stuff.
You probably face this issue already. Your sketches feel static. Viewers struggle to know where to look first. Uniform lines fail to mimic how we see the real world. Our brains expect closer objects to look stronger and bolder. Thinner lines signal distance because they blend into surroundings.
Science backs this up. Studies on visual perception show we process varying line thickness for depth through cues like contour strength. Thick lines activate more neurons in your visual cortex. They demand focus. Thin ones recede naturally, just like shadows or haze in life. For example, neuroscientists at places like MIT have mapped how line contrast tricks our depth perception, similar to how Monet played with edges in his paintings.
The best part? You can test quick wins today. Grab a pen and paper. Draw a face with heavy outlines on the nose and eyes. Feather the hairlines thin. Watch it transform from doodle to drawing. Or outline a cityscape: thick for foreground buildings, slim for the skyline.
Mastering line weight turns basic sketches into dynamic, professional art. So, let’s break down the techniques next. You’ll see exactly how to apply them step by step.
What Line Weight Really Means and Why Artists Swear By It
Thick lines pack a punch. They suggest closeness, weight, or key focus points. Thin lines, on the other hand, whisper distance, lightness, or subtle details. Artists love this tool because it builds a sense of space fast.
Comic book legends kicked it off. Jack Kirby drew massive heroes with heavy outlines that screamed power. Will Eisner took it further in The Spirit, using bold strokes for characters against wispy scenery. Today, digital apps like Clip Studio Paint make it easy to adjust weights with a brush slider. You get pro results without fancy setups.
The payoff shines bright. Line weight adds real dimension minus shading or color. It guides eyes naturally, like road markings that thicken up close and fade thin on the horizon. Your sketches gain life and direction.
Spot poor line weight in beginner art with these quick checks:
- Every edge looks the same thickness, so nothing pops forward.
- Faces blend into bodies because outlines stay uniform.
- Backgrounds fight for attention instead of receding quietly.
- The whole drawing feels glued to the page, flat as cardboard.
Fix that, and your work transforms. Next, see it in action through masters.
Classic Examples from Comics and Fine Art
Will Eisner mastered it in The Spirit. He hit heroes with bold, heavy outlines that demand stares. Scenery got faint, feathery lines, pushing it back. Panels burst with energy as a result.
Leonardo da Vinci played the same game in sketches. His pen strokes vary wild. Thick marks carve out muscles and faces up front. They taper thin for distant hills or flowing robes. Check his Vitruvian Man studies; lines thicken on limbs closest to the viewer.
Picture a before-and-after. Start with uniform lines on a street scene: cars, buildings, all flat. Now thicken foreground curbs and doors. Thin the skyline roofs. Depth jumps out; your eye follows the path naturally.
Try it in your doodles. Grab a notebook. Outline a tree thick at the trunk, slim at leaves and branches. It stands solid against a hazy sky. Simple shift, huge impact.
The Difference Between Uniform and Varied Lines
Uniform lines deliver cartoonish flatness. Every stroke matches, so shapes stack like paper cutouts. Depth vanishes; focus scatters.
Varied weights change everything. Thick fronts grab you. Thin backs recede, mimicking how eyes blur distance. Results feel alive, three-dimensional.
Our brains latch onto this. Perceptual cues like line strength hint at proximity, a trick psychologists link to edge detection. More on that science soon.
Challenge yourself now. Redraw a circle as a ball. Use one thickness first: it flops flat. Then vary it, heavy on the near curve, faint on the far. Feel the pop? That’s varied lines at work.
How Our Brains Use Line Thickness to See Depth and Distance
Your brain craves clues about depth. It grabs onto line thickness because thicker lines signal objects up close. Thinner ones fade back, much like tree branches that slim down as they stretch away. This trick stems from atmospheric perspective, where air and haze make far things blur and lighten. Artists tap this natural process. They thicken foreground lines and thin the rest. As a result, sketches gain real space without extra shading.
Science confirms it. Our eyes detect edges first, and bold lines fire up more neurons right on the retina. Thick contours feel solid because they mimic strong contrasts in the real world. Gestalt principles kick in too. Proximity groups thick lines together, so they pop as the main shape. Continuity flows your gaze along varied weights. Therefore, depth emerges fast.
Picture a road vanishing into fog. Nearby curbs stand bold and thick. Distant ones thin out and blend. Your brain reads this as distance every time. Studies on visual hierarchy back it up. Researchers found context makes lines seem thicker or thinner, just like in everyday views.
Key Optical Tricks That Make Line Weight Magic
Optical illusions reveal how line weight fools us. Take the Ponzo illusion. Two lines look different lengths because converging rails frame them. The top one seems longer, as if it’s farther away and scaled up. Line weight does the same. Thicken a bar between close rails; it grabs focus. Thin the far one, and it recedes.
Figure-ground organization plays a big role. Thick lines become the figure we lock onto. Thin ones slip into the ground, or background. So, a bold outline on a face pulls eyes forward. Hair strands thin out and melt away.
Size constancy adds punch. We know a door stays the same size, yet it looks smaller afar. Thicken its near edge; your brain adjusts and sees depth. Visualize this sketch:
  Thick line (close door edge)
-----------
Thin lines (far edges)
-- -- --
Draw it yourself. The thick base dominates. Sides taper thin, so the door tilts back realistically.
What Neuroscience Says About Line Focus
Your visual cortex loves contrast. It lights up strongest for thick, varied lines. Neurons cluster around bold edges because they stand out sharp. Thin lines? They whisper to fewer cells, so they stay subtle.
Eyes jump with saccades, quick flicks to key spots. Thick lines win those jumps first. Your gaze snaps to heavy outlines on a page. Varied weights guide it next, like a path through a drawing.
Manga masters this. Artists thicken hero jaws and eyes for instant pop. Backgrounds get slim lines that don’t fight. Fans read panels fast because brains prioritize the bold. Studies show this setup cuts overload. Eyes rest easy on focused spots.
In short, neuroscience proves line weight directs attention. Use it, and your art pulls viewers right where you want.
Proven Ways to Add Depth and Steer Eyes with Line Weight
You know the theory now. Time to apply it. These proven methods build depth and direct eyes with simple line shifts. Start every sketch with thin outlines across the board. Then thicken key edges as you go. This approach works in traditional ink or digital tools. Practice beats perfection every time. Grab a brush pen for traditional feel, or use Photoshop’s stabilizer for clean digital lines. Results pop fast.
Layering Your Scene: Thick Foreground, Fading Backgrounds
Layering mimics real vision. Foregrounds demand bold lines. Backgrounds fade with thin ones. As a result, space emerges.
Follow these steps for any scene:
- Sketch basic forms lightly. Use uniform thin lines to block in shapes. Keep it loose, like a perspective grid for roads or buildings.
- Thin distant lines first. Feather edges on far objects. They blend into haze, so add subtle cross-hatching with even lighter strokes.
- Bold up close objects next. Thicken trunks, curbs, or faces. Vary weights within each: heavy on lit sides, taper on shadows.
- Add overlaps with weight shifts. Let a thick foreground branch cross a thin tree. The shift creates natural layering.
Picture a cityscape. Start with thin skyline scribbles. Bold the street-level cars and doors. Cross-hatch pavement thick near your feet, slim as it recedes. Depth jumps out. Your eye follows from bold front to faint back. Integrate a perspective grid underneath. It guides weights perfectly.
Traditional brush pens shine here. They force natural taper. Digital stabilizers in Photoshop let you refine without mess. Practice on scrap paper daily. Ten minutes builds the habit.
Spotlight Technique: Making Viewers Notice What Matters
Spotlight key elements with weight modulation. Heavy lines hit emotions and heroes. Light ones fill space quietly. Storytelling flows better.
Heavy lines build tension. Think clenched fists or stormy eyes. Thin lines calm the scene, like soft hair or empty skies. Varying thickness creates rhythm, much like music notes rising and falling.
Try this in portraits:
- Thicken around focal points, such as the subject’s gaze.
- Taper off to shoulders and background.
- Use cross-hatching: bold hatches for drama, sparse thin ones for calm.
Your viewer notices what matters first. Eyes snap to thick outlines. Then they flow along the rhythm. In comics, this pulls readers panel to panel.
For emotions, test it. Draw a tense face: heavy jawline, thin cheeks. Calm version flips it. Practice swaps perfection worries for quick wins.
Blending Line Weight with Shading and Color
Line weight teams up with shading and color. It enhances without stealing the show. Bold lines define edges; soft shading fills form.
Quick tips for mixed media:
- Pair thick lines with dark shading on foregrounds. Thin lines get light tones behind.
- In color, match weights to saturation: bold black outlines pop against vivid hues.
- Cross-hatch boldly up front, lightly in back for texture depth.
Digital tools excel. Photoshop layers let you adjust weights over colors easily. Traditional? Brush pens over watercolor fade nicely.
Perspective grids help blend all. Thicken grid lines near, thin far ones. Add shading along them. Your scene gains focus and space.
Practice these daily. Start thin, build bold. Eyes steer right where you aim.
Hands-On Exercises and Tools to Build Line Weight Skills Fast
Practice makes line weight second nature. You build skills fast with simple tools and short sessions. So pick up affordable options like Tombow brush pens for natural taper, Lamy fountain pens for smooth control, or digital brushes in Procreate and Clip Studio Paint. These let you vary thickness easily without breaking the bank. Therefore, start today and watch your sketches gain depth.
Daily Drills for Confidence in 10 Minutes a Day
Short drills fit any schedule. They sharpen your eye for weight variation. As a result, confidence grows quick.
Grab your tool and try these five exercises each day. Rotate them to keep it fresh.
- Contour drawing with weight. Outline an object like a mug slow and steady. Thicken lines on curves facing you. Taper them thin on the back side. This trains natural flow.
- Blind contour variation. Look only at the subject, not paper. Draw a hand or plant without lifting the pen. Add thick strokes for prominent edges later. It builds bold instincts.
- One-point perspective city. Sketch vanishing lines for streets. Bold foreground buildings with heavy outlines. Fade rooftops thin as they recede. Depth pops right away.
- Portrait focus shift. Draw a face from a photo. Thicken eyes and nose first. Feather hair and neck slim. Your gaze locks on key spots.
- Abstract depth study. Invent overlapping shapes. Assign thick weights to front layers. Thin the backs. Experiment with crosses for layering.
Mix in specifics too. Ink a still life like fruit: vary weights from bold bases to faint tops. Trace photos of landscapes for reference. Then invent scenes, like a path through woods with thick nearby trees and slim distant ones.
Track progress simple. Snap before-and-after photos weekly. Note what improved in a sketch journal, such as smoother tapers. You see gains fast.
Shaky lines happen early. Relax your grip. Breathe deep and draw slower. Pros like Eisner started with wobbles too. They practiced basics daily, so can you.
Share your drills on Instagram or Twitter. Tag #LineWeightPractice. Feedback boosts motivation. In short, ten minutes daily turns flat lines into focused art.
Conclusion
Line weight basics show thick lines grab focus up front. Your brain uses them for depth because bold edges fire neurons fast. Depth techniques like layering and spotlighting steer eyes right where you want.
Practice drills build that skill quick. Start thin, thicken key spots, and watch flat sketches pop like the cube from our opener. You transform doodles into pro drawings that hold attention.
Master line weight for better drawings today. Grab a pen and try the contour exercise now. Share your results in the comments below.
Check our posts on perspective grids or inking tips next. Your art gains pro-level depth effortlessly.