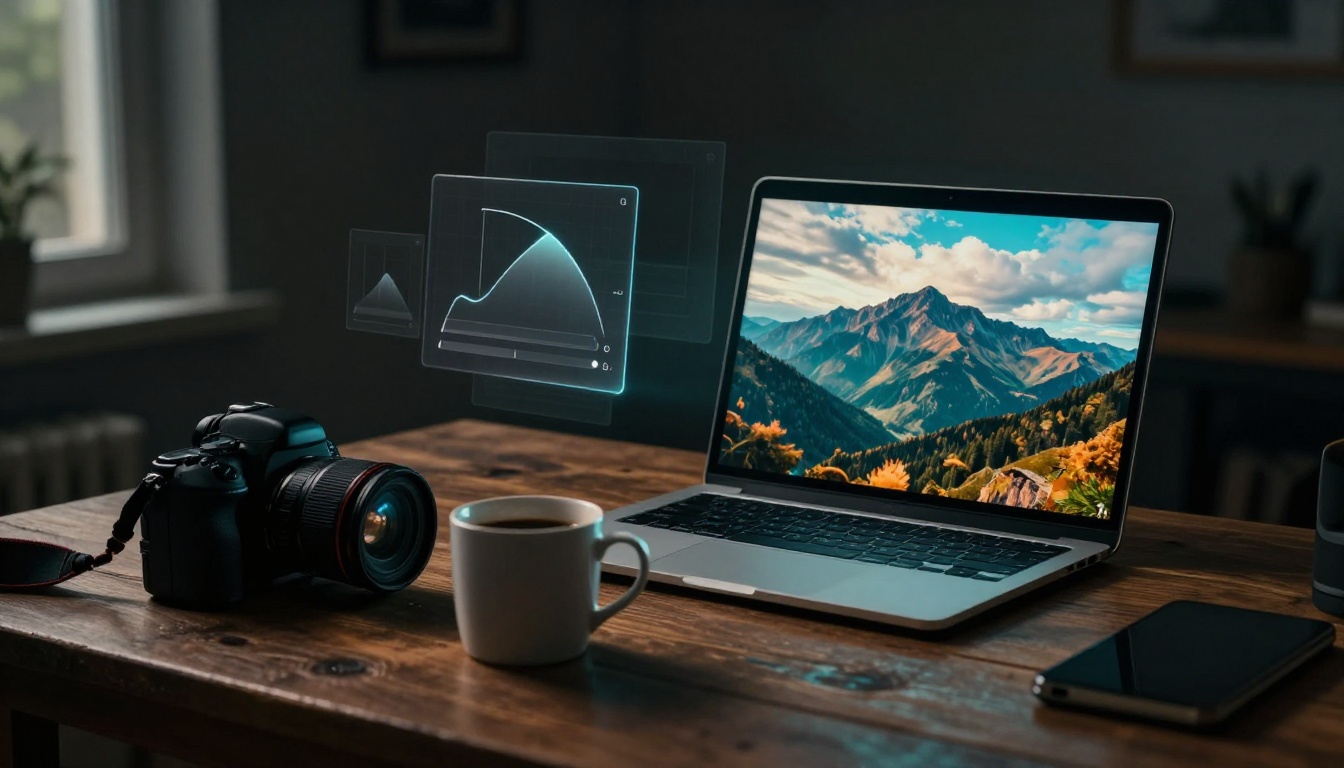
You open Photoshop with a photo from your last hike. The colors look flat under cloudy skies. You tweak the hues directly, but it turns muddy fast. Pixels bake in the changes. You can’t go back.
Global color correction fixes the overall tones, hues, and brightness across the whole image. It revives dull shots without spot edits. Adjustment layers in Photoshop offer the cleanest path. They sit above your image like removable filters. You stack them, toggle visibility, or mask parts later.
This method beats direct edits because it keeps your original safe. You’ll see why they outperform other tools. Then follow steps for key layers like Curves and Color Balance. Pro tips and pitfalls follow. By the end, fix any photo quickly.
Why Adjustment Layers Beat Other Methods for Whole-Image Color Fixes
Adjustment layers act as smart overlays in Photoshop. They apply color shifts to everything below without touching pixels. You create one from the Layer menu. Pick from Levels, Curves, or others. It appears above your background.
Direct edits use Image > Adjustments. Those bake changes in. You lose flexibility. One wrong slider wipes details. Adjustment layers avoid that trap.
They excel for global work. One layer tones the full image. Toggle it off to compare. Reorder stacks anytime. Delete without regret. Masks let you shield spots if global feels too broad.
Benefits stack up. Original files stay pristine. Experiments run free. Clients request changes? Easy tweaks. Beginners gain speed.
Unlock Non-Destructive Editing Freedom
Non-destructive edits change everything. Your base image hides untouched. Rampage sliders. No harm done.
Take a portrait with harsh shadows. Crank Levels on an adjustment layer. Shadows lift without midtone crush. Toggle off. Original returns. Client wants less? Dial back 20%. Confidence builds fast.
Revisions flow smooth. Pros bill less time. You focus on vision, not recovery.
Stack and Blend for Perfect Control
Stacks give precision. Add a Curves layer for exposure. Follow with Color Balance for casts. Each targets one issue.
Clipping masks limit effects. Right-click a layer. Choose “Create Clipping Mask.” It hugs the layer below. Global stays pure.
Picture a landscape. First layer brightens. Second warms greens. Toggle to preview. Blends refine the look. Control feels endless.
Your Step-by-Step Guide to Key Adjustment Layers for Color Perfection
Start simple. Open your image. Go to Layer > New Adjustment Layer. Choose your tool. It adds instantly.
Work global first. Zoom out often. Check the full frame. Eyeball histogram for balance. Follow this order: tones, then color, vibrancy last.
Test on a sunset shot. Skies fade pink. Foreground dulls. Layers revive it step by step.
Balance Tones Fast with Levels and Curves
Levels suits quick fixes. Drag the input sliders. Left pulls shadows up. Right crushes highlights down. Output fades overall.
Curves offer smooth power. Click the line. Drag points. S-curve boosts contrast. Underexposed image? Lift the bottom left gently.
For the sunset, start Curves. Pull midtones up 10 points. Shadows gain depth. Highlights pop without blowout. Histogram evens out.
Next, fine-tune Levels. Shadows slider to 15. Image breathes. Tones align.
Neutralize Color Casts Using Color Balance
Color casts plague indoors. Fluorescents tint green. Open Color Balance layer.
Tabs split shadows, midtones, highlights. Use midtones first. Slider shifts hue. Eyedropper picks neutral gray. Sample skin or white.
Sunset example: Orange dominates shadows. Slide cyan toward magenta five points. Balance restores. Pair with Info panel for zero RGB values.
Global shift corrects full frame. No local brushes needed yet.
Amp Up Punch with Hue Saturation and Vibrance
Hue/Saturation revs color. Master saturation slider adds 15-20%. Hue shifts tint. Target dropdown hits blues only.
Vibrance spares skin. It boosts muted tones. Avoids clipping brights. Cap at 25%.
Sunset gains life. Vibrance +20 on oranges. Saturation +10 overall. Colors sing. Overdo it? Halos form. Dial back.
Zoom out. Full image pops. Workflow shines.
Pro Moves to Supercharge Your Adjustment Layer Workflow
Order layers smart. Bottom: exposure fixes like Curves. Middle: white balance. Top: saturation tweaks. Changes cascade right.
Group stacks. Select layers. Press Ctrl+G. Name “Global Tones.” Keeps panels tidy.
Opacity tempers strength. 70% softens bold shifts. Blending modes add flair. Soft Light warms. Overlay contrasts.
Masks refine global reach. Paint black to hide. Brush low opacity for fades.
Batch via Actions. Record once. Apply to folders. RAW files love this. Deeper data handles aggressive layers. JPEGs need caution.
Skin tones warm up with yellow/red Balance. Landscapes cool blue. Match intent.
Master Layer Order and Grouping for Clean Stacks
Curves first evens tones. Color Balance next fixes casts. Saturation amps last. Fine-tune Curves on top.
Group three to five. “Exposure Base.” “Color Fixes.” Rename clearly. Find fast.
Results stay clean. No mud.
Masks and Blending Modes for Subtle Global Power
Gradient tool on mask fades top to bottom. Even skies. Brush reveals gradually.
Multiply darkens shadows. Screen lifts lights. Opacity 60% blends natural.
Global power turns subtle. Pros swear by it.
Dodge These Adjustment Layer Traps That Ruin Your Edits
Pitfalls trip everyone. Over-saturate first. Halos rim edges. Fix: drop opacity to 50%. Check clipping warning via Alt-drag levels.
Layer order muddies. Color before tones amplifies casts. Drag Curves below Balance. Preview toggles confirm.
Ignore histogram. Clipped ends lose detail. Adjust sliders till peaks fit.
Skip zoom-out. Center looks good. Corners crush. Step back always.
Forget clipping. Layer bleeds to extras. Right-click clip it.
Practice fixes them. Edit 10 images. Speed grows.
Overcooking Colors and Losing Detail
Neon skin screams overdone. Vibrance hits 40%. Lower to 15%. Toggle layers. Restore natural.
Clipping warns red. Hold Alt on slider. Gray means safe.
Messed-Up Results from Bad Layer Order
Green cast worsens post-brighten. Move Balance under Curves. Clean sweep.
Reorder drags quick. Test visibility.
Adjustment layers make global color correction simple and pro-grade. They protect originals. Stacks deliver control. Follow the steps. Dodge traps.
Open Photoshop now. Grab a dull photo. Build your first stack. Watch it transform.
Share your before/after in comments. What shot did you fix? Subscribe for local correction tips next. Average images turn pro. You hold the tools.